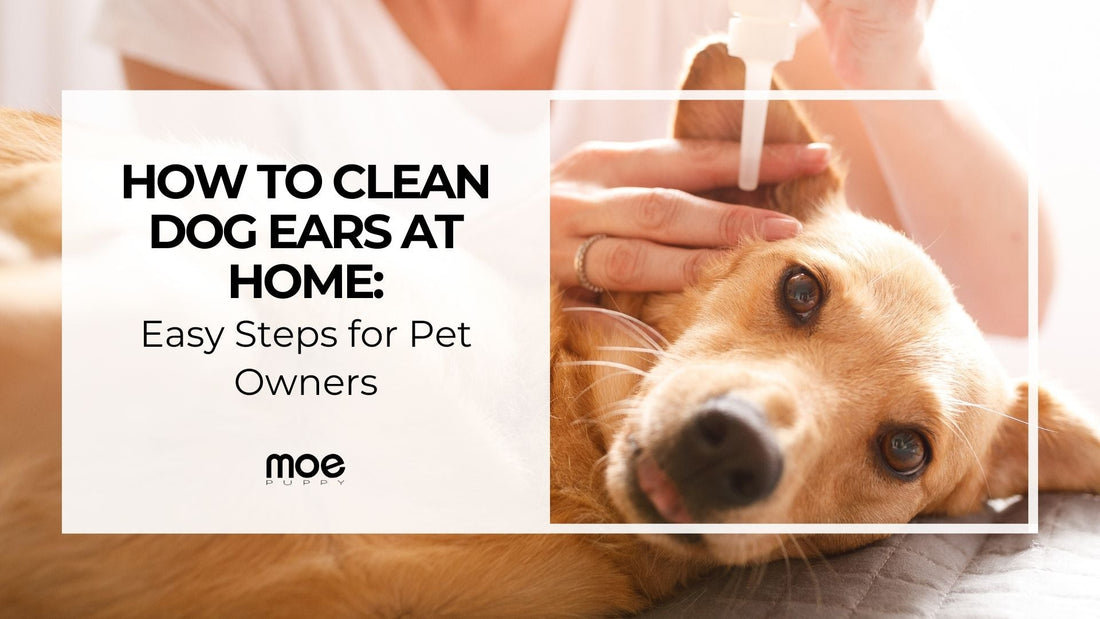
How to Clean Dog Ears at Home: Easy Steps for Pet Owners
Share
Cleaning your dog’s ears is an essential part of their overall grooming routine. It helps prevent infections, reduces odor, and keeps your pup comfortable. But how do you clean dog ears safely and effectively at home? Don’t worry—we’ve got you covered with this step-by-step guide! By the end of this article, you’ll feel confident taking care of your furry friend’s ear hygiene like a pro.
Understanding Your Dog’s Ears
Why Dog Ears Need Special Care
Unlike human ears, a dog’s ear canal is long and L-shaped, making it a prime spot for wax, dirt, and moisture to get trapped. This unique structure also makes dogs more prone to ear infections, particularly in breeds with floppy ears, like Cocker Spaniels or Golden Retrievers. Regular cleaning helps prevent debris from accumulating and causing problems.

Recognizing Common Ear Problems
Your dog’s ears can show clear signs when something isn’t right. Here are some warning signs to look for:
- Persistent scratching or head shaking.
- Redness or swelling in the ear canal.
- Foul smell coming from the ears.
- Visible dirt, wax, or discharge.
If you notice any of these symptoms, consult your veterinarian before attempting to clean your dog’s ears at home.
Tools You’ll Need to Clean Dog Ears
Choosing the Right Dog Ear Cleaner Solution
A high-quality ear cleaner solution is the foundation of effective ear cleaning. Products like the MoePuppy Ear Cleaning Solution are designed specifically for dogs, ensuring they’re gentle on your pet’s ears while removing debris and wax.
Other Necessary Supplies
Here’s a checklist of items you’ll need:
- Cotton Balls or Gauze Pads: For wiping away dirt and excess solution.
- A Towel: To keep your dog secure and avoid mess.
- Treats: For positive reinforcement during the cleaning process.
- Optional Items: A calming spray or chew toy to keep your dog relaxed.
Step-by-Step Guide to Clean Dog Ears
Step 1: Gather Your Supplies
Before you begin, make sure you have everything you need. A well-prepared setup makes the process smoother for both you and your dog.
Step 2: Inspect Your Dog’s Ears
Look inside your dog’s ears for any redness, swelling, or discharge. Healthy ears should be pink and odor-free. If you spot any unusual symptoms, postpone cleaning and contact your vet.
Step 3: Apply the Dog Ear Cleaner Solution
Gently hold your dog’s ear flap upright and carefully apply the ear cleaner solution into the ear canal. Most cleaners come with a nozzle for precise application. Be sure to read the product’s instructions for the right amount.
Step 4: Gently Massage the Base of the Ear
Massage the base of your dog’s ear for 20–30 seconds. This step helps break down wax and debris, making it easier to remove. You might hear a squishy sound—this is normal!
Step 5: Wipe the Outer Ear with a Cotton Ball
Use a cotton ball or gauze pad to wipe away loosened debris from the outer ear. Avoid inserting anything deep into the ear canal, as this can cause damage.
Step 6: Reward Your Dog
After completing the cleaning, give your dog a treat and plenty of praise. This helps create a positive association with ear cleaning.

How Often Should You Clean Your Dog’s Ears?
Frequency for Different Breeds
- Floppy-Eared Breeds: These dogs, like Beagles and Basset Hounds, often need weekly cleanings to prevent infections.
- Dogs with Upright Ears: Breeds like German Shepherds may only require cleaning every few weeks.
- Hairy-Eared Breeds: Breeds like Poodles may need more frequent attention due to hair trapping dirt and moisture.
Signs It’s Time for a Cleaning
- A noticeable buildup of wax or dirt.
- Your dog scratching their ears more than usual.
- Any slight odor coming from the ears.
Tips for a Safe and Stress-Free Cleaning
How to Keep Your Dog Calm During the Process
- Start by introducing your dog to the supplies, letting them sniff and inspect each item.
- Use a calm, soothing voice throughout the cleaning process.
- Break the cleaning into smaller steps if your dog seems anxious.
Common Mistakes to Avoid
- Using the Wrong Products: Avoid using vinegar, alcohol, or human ear cleaners as they can irritate your dog’s ears.
- Skipping Inspections: Cleaning infected ears can worsen the problem. Always inspect first.
- Rushing the Process: Take your time and be gentle to ensure your dog stays comfortable.
When to Consult a Veterinarian
Signs of Infection or Serious Issues
Contact your vet immediately if you notice:
- Persistent redness or swelling.
- Pus or blood in the ear.
- A strong, foul smell that doesn’t go away.
Importance of Professional Ear Care
Even with regular at-home cleaning, some dogs may benefit from occasional professional cleaning. Vets can safely remove deeper wax buildup and address any underlying issues.
Also Read: Why Disinfecting Your Pet’s Space Matters: The Benefits of Using Pet Safe Disinfectants
Recommended Products
Using a trusted product like MoePuppy Ear Cleaning Solution makes all the difference. It’s specifically designed for dogs, ensuring safety and effectiveness. The solution is easy to use and gentle on your dog’s ears, promoting overall ear health.
Conclusion
Your dog’s ear health is crucial for their happiness and well-being. By following these simple steps, you can clean dog ears at home safely and effectively. Regular cleaning, combined with the right tools and a little patience, ensures your furry friend stays comfortable and infection-free. Remember, a clean ear is a happy ear!


